How To Replace Your RV Microwave
RV microwaves are the fastest way to heat up food or beverages. Many RV microwaves are combined with a convection oven that can do whatever a single-function traditional oven does.
Whether it’s hot toddies on a cold day or gorgeous, hot cinnamon rolls for breakfast, your RV microwave has you covered. But then one day, the microwave quits. Of course, it’s usually sooner than we think it should. We almost never know it’s going to happen either. Luckily, an RV microwave replacement is a fairly easy job for most DIYers.
The steps to an RV microwave replacement
When your RV microwave has warmed its last leftovers, replacing it is not that difficult. An RV microwave replacement can be done with just a few ordinary tools (that you should have in your RV toolkit). The one caveat is to prepare for the unexpected because things are not always as they seem for every microwave installation.
In this article, we’ll show you what you’ll need to know to do this DIY job practically painlessly.
Step 1: Find a replacement
You’ll need to find a replacement for your old microwave that will fit into the microwave cabinet. While you could technically replace your RV microwave with a 600-700 watt household model, choosing a replacement model made to fit your RV’s specifications is the easiest option. That way, you’ll know that everything will fit and line up as it should. An exact match is much easier to deal with.
To get the exact part number for your RV microwave, you can contact either the RV manufacturer or your RV dealer.
Step 2: Gather your tools
For this job, you’ll need:
- A screw gun with a #2 Phillips head bit or a #2 Phillips head screwdriver
- A small pry bar (just in case you need it)
- A helper
Step 3: Safety first
Whenever you change out an electrical appliance, it’s wise to shut off the power to that appliance at the breaker. Be safe, and turn the power off to the microwave first.
Step 4: Remove the old trim frame
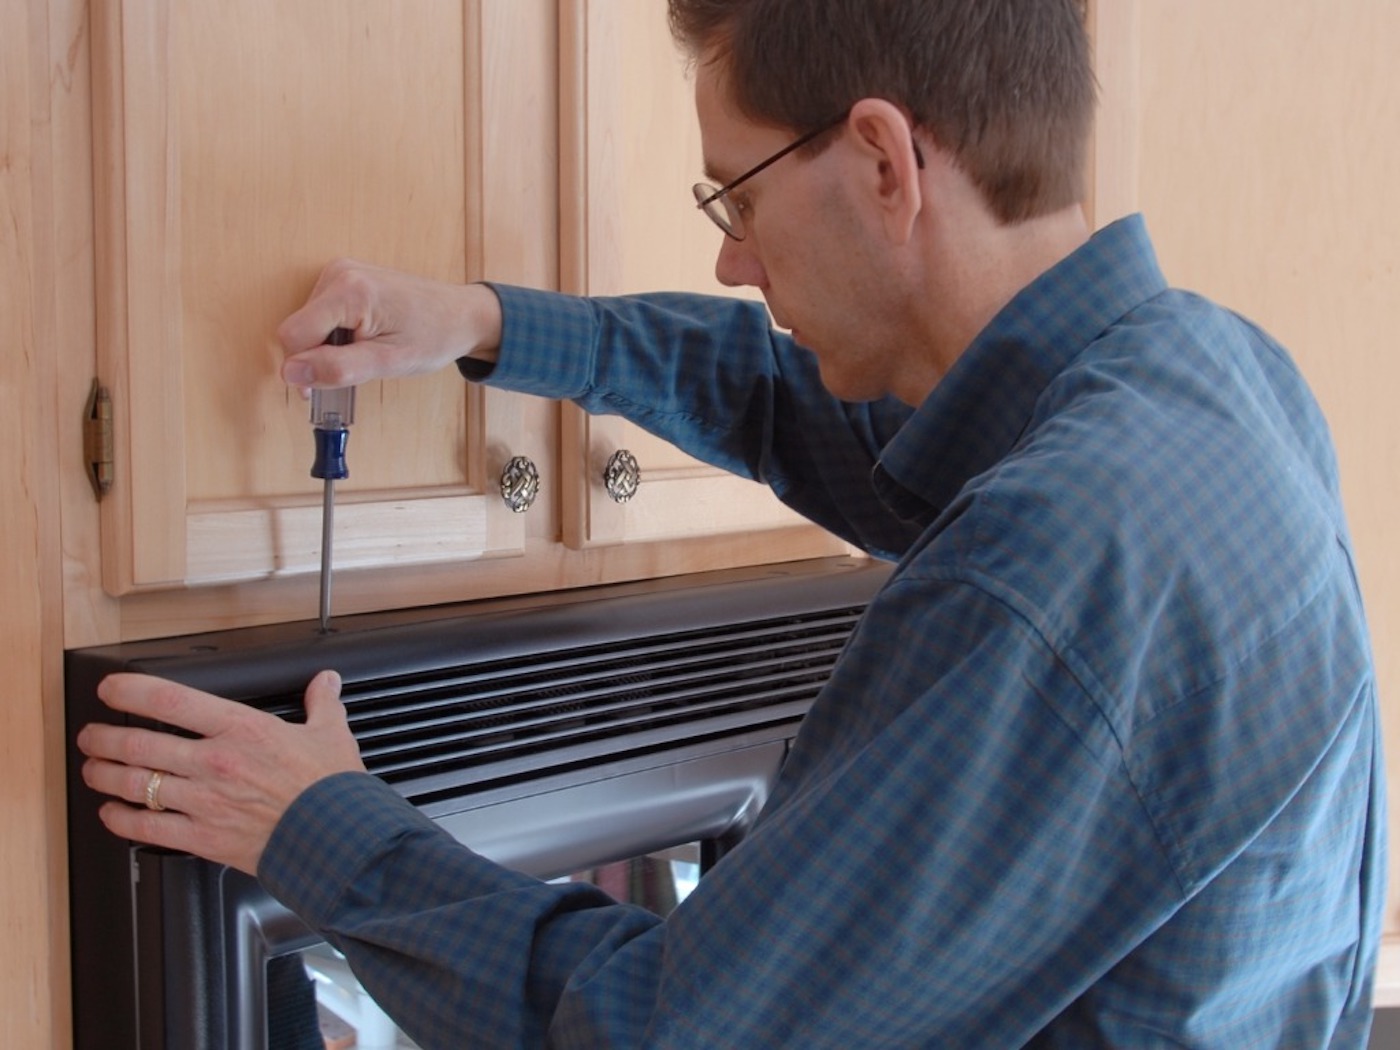
Now that you are prepared, let’s get going. Your RV microwave has a vented trim frame surrounding it. Before you can swap out your old microwave for the new one, you’ll need to remove this. Unscrew the screws holding it in place. Pull the old frame off, gently using the pry bar as necessary.
Step 5: Out with the old
If you have a helper, it’s time for them to leap into action. If you don’t have a helper, no problem, this step should be a snap anyway.
With the trim removed, you and your helper should be able to simply slide the old microwave far enough out of the cabinet that you can unplug it. Slide it out the rest of the way and it’ll be ready for donating/recycling.
Step 6: In with the new
Mount the new microwave’s trim frame onto it, using the screws it came with. Now get your helper to help slide the new microwave into the cabinet, far enough to plug it in. Once it’s plugged in, slide the microwave the rest of the way in.
Step 7: Almost done!
Now that your new microwave is in place, adjust it as needed so that the screw holes align. Screw the trim into place. Turn the power back on, and test out your new microwave with a bag of popcorn. Now get a cold beverage and toast yourself for a job well done!

Make sure you keep track of all your RV maintenance and repairs with an online tool such as RV LIFE Maintenance. Not only can you keep all of your documents in one place, but you’ll also receive timely reminders when maintenance is due to help you avoid costly repairs and potentially serious accidents.
Related articles:
- How To Swap Out a RV Microwave with a Convection Oven
- 3 Big Myths About RV Microwave Convection Ovens
The Ins And Outs Of An RV Microwave Replacement appeared first on www.DoItYourselfRV.com
